Cakes & Sponges
Reverse creaming gives a tighter crumb, and here is why it works
Coating the flour in fat before any liquid arrives limits gluten development from the first second, which is the opposite of what standard creaming does.
Comparisons of the reverse creaming method usually pick a winner. This one picks the circumstances, which is more useful.
The difference in one place
- Fat coats flour first, so gluten cannot form freely.
- The crumb comes out fine, even and velvety rather than open.
- It is more forgiving of overmixing than standard creaming.
What the method changes
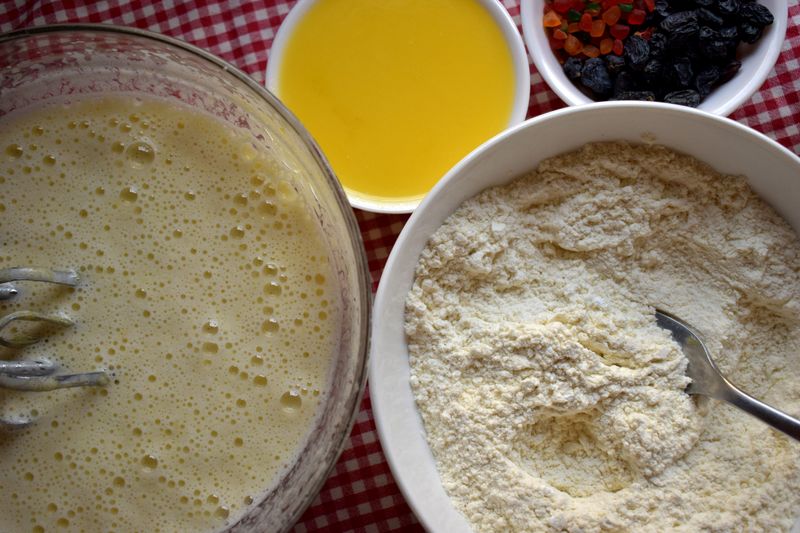
In reverse creaming, the softened butter is beaten into the dry ingredients until the mixture resembles damp sand. Every flour particle picks up a coating of fat before it ever meets water, which physically blocks gluten proteins from linking up. The liquids then go in with the mixer running, and because gluten is already restricted you can mix confidently.
The standard method does the reverse, building an aerated fat structure first and adding flour last with great care. Both work; they simply arrive at different crumbs by different routes.
The crumb you get
Reverse creamed cakes have a fine, tight, velvety crumb that slices cleanly and holds up under heavy frosting. The surface tends to bake flatter, with less doming, which is why the method is popular for layer cakes.
Standard creaming gives a slightly more open, springier crumb with more visible air pockets and a rounder top. Neither is objectively better, but a wedding cake and a Victoria sandwich want different answers. If your layers keep needing to be levelled with a knife, reverse creaming will save you the offcuts.
Why it is more forgiving
Since fat is limiting gluten from the start, a minute of extra mixing does far less damage than it would in a creamed batter. That tolerance makes the method reliable for bakers who are not confident about when to stop folding. It also disperses raising agents very evenly, because they are mixed thoroughly into the dry ingredients first.
The main failure mode is not overmixing but undermixing at the sanding stage, leaving pockets of uncoated flour. Those pockets show up as tough, chewy patches in an otherwise tender cake.
Getting the fat stage right
Beat the butter into the dry mix on low speed for one to two minutes until no loose flour remains and the mixture clumps when squeezed. The butter should be soft enough to smear, around 20C, since firm butter stays in lumps and never coats properly. Some recipes use a food processor for this stage, which is fast and thorough but easy to take too far.
You are aiming for the texture of fine breadcrumbs rather than a paste.
If the mixture looks greasy and glossy, the butter has melted and the coating will not distribute evenly.
Adding the liquids
Add roughly two thirds of the liquid first and beat for a full minute to develop what limited structure the batter needs. That minute matters, because reverse creamed batters need mechanical work to build the fine bubble network they rely on. The remaining liquid goes in gradually with brief mixing, mainly to loosen the batter to the right consistency.
The finished batter should be smooth and pourable but not thin, holding a ribbon for a second or two. Room temperature liquids matter here as much as anywhere, since cold liquid firms the butter coating.
Flour absorbs water differently by brand and by season; hydration is a target, not a rule.
Which recipes suit it
The method needs enough fat to coat the flour, so it works best on cakes with a reasonably high butter content. Very lean sponges and fatless genoise cannot use it at all, since there is no fat to do the coating. Recipes with a high sugar to flour ratio, sometimes called high ratio cakes, are natural candidates.
In the tin, converting a standard creamed recipe usually works, but the crumb will change and the bake time may shorten slightly. Test on a single layer before committing to a three tier cake you actually need.
Side by side
| Consideration | What it means in practice |
|---|---|
| What the method changes | Fat coats flour first, so gluten cannot form freely. |
| The crumb you get | The crumb comes out fine, even and velvety rather than open. |
| Why it is more forgiving | It is more forgiving of overmixing than standard creaming. |
The takeaway
Coat the flour in fat first when you want a fine, level, sliceable crumb rather than a springy one.
Bake it badly once on purpose. The failure teaches more than the photograph.
Questions readers ask
Can I use reverse creaming with oil instead of butter?
Not really. Oil is already liquid and coats flour instantly, so the sanding stage has nothing to do and you lose the controlled aeration that the butter provides.
Why does my reverse creamed cake taste slightly dry?
Tight crumbs read as drier even at the same moisture content, and the flatter top means more surface area for evaporation. Check the bake with a probe and pull it a few minutes earlier next time.
Also by Sabyasachi Roy
- Creaming butter and sugar is aeration, and the sugar crystals do the cuttingCakes & Sponges
- A genoise has no baking powder, so what is lifting itCakes & Sponges
- Baking powder and bicarbonate of soda are not interchangeableCakes & Sponges
- Folding is the technique that decides how much of your foam survivesCakes & Sponges