Pastry
Hot water crust does the opposite of everything shortcrust wants
Boiling water, melted fat and warm handling would ruin a tart case. Here they produce a pastry strong enough to stand up on its own and hold a kilo of filling.

There is a short answer about hot water crust pastry and a useful one, and they are not the same. What follows is the useful one.
The short version
- The hot liquid gelatinises starch, giving strength rather than shortness.
- The dough is moulded warm and sets firm as it cools.
- Strong flour is an advantage here, unlike in shortcrust.
Why heat changes everything
Pouring boiling water and melted fat onto flour partly gelatinises the starch before the pastry ever sees an oven. That gelatinised starch gives the dough a plastic, mouldable quality when warm and considerable rigidity when cool. Gluten still forms, and here it is welcome, because the case has to support its own walls without a tin.
This is why strong flour, which would be a mistake in shortcrust, is often specified for hot water crust. The pastry is engineered for structure first and tenderness a distant second.
Working it warm
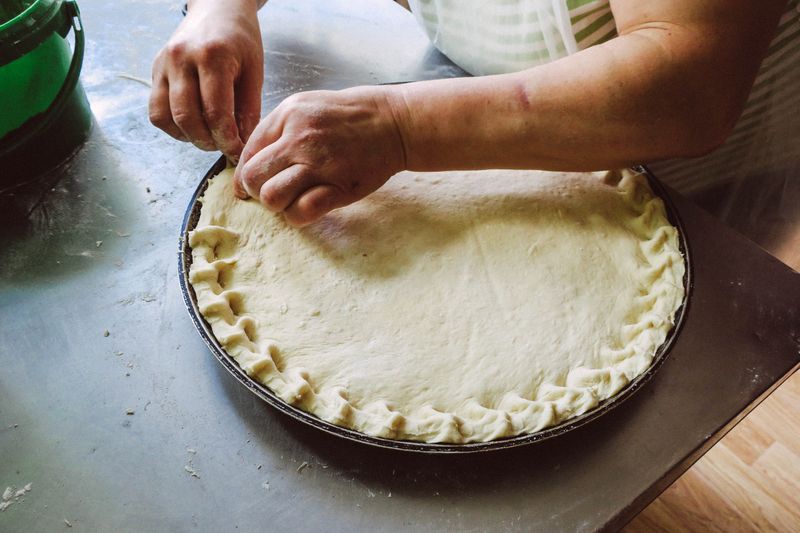
The dough must be shaped while still warm, typically within fifteen or twenty minutes of mixing, before the fat sets. Once cool it becomes stiff and cracks rather than stretching, and reheating does not fully restore it.
Once the crumb sets, traditional raising is done by moulding the warm dough around a floured jar or wooden block, then removing the form. A springform or a loose-bottomed tin is a reasonable modern substitute and considerably easier. Keep the remaining dough covered and warm while you work, since a bowl left uncovered skins over quickly.
Fat choice
Lard is traditional and gives the most characteristic flavour and a slightly crisper set. Butter works and tastes different, though its water content makes a slightly softer dough. A mix of the two is common, taking some flavour from the butter and some structure from the lard.
At oven temperature, vegetable shortening produces a paler, blander crust that is structurally fine but less interesting to eat. The fat is usually around a third to a half of the flour weight, which is generous but necessary for the texture.
Sealing and baking
Because the filling is often raw meat, the case must be sealed thoroughly and vented with a hole in the lid. The vent lets steam escape rather than blowing the lid off or splitting the seam. Bake hot at first, around 200C, to set the walls, then reduce to 160 to 170C for the long cook the filling needs.
In the tin, total bake times of an hour and a half to two hours are common for a raised pie of any size.
An egg wash gives the traditional deep glaze and helps seal any small cracks in the lid.
The jelly stage
Meat shrinks as it cooks, leaving a gap between the filling and the crust that would otherwise let air in. Warm, well flavoured stock with enough gelatine is poured through the vent hole once the pie has cooled slightly. It fills the void and sets, sealing the filling and preventing the crust from going soggy in storage.
Pour slowly and in stages, since the space fills less quickly than it appears to. The pie should then chill for several hours or overnight so the jelly sets firm before cutting.
Eating and keeping
Hot water crust is designed to be eaten cold, where its firmness reads as sturdy rather than tough. Served hot it can feel heavy and slightly leathery, which is why raised pies are traditionally a cold dish.
The combination of a sealed crust, set jelly and thorough cooking is what made these pies keep before refrigeration. Modern food safety still applies, so keep them refrigerated and treat them as a few days rather than a few weeks. Cut with a serrated knife in a sawing motion, since pressing down cracks the wall.
The takeaway
Mix it hot, shape it fast, bake it long, and eat it cold with the jelly set.
Temperature and time are the same argument held at opposite ends.
Questions readers ask
Can I make hot water crust in advance?
The dough itself, no, since it must be worked warm. You can make and bake the whole pie a day or two ahead, and many people think it improves after a night in the fridge.
Why did my raised pie wall collapse during baking?
The dough was probably too thin or too cool when moulded, so it lacked the strength to hold. Aim for a wall of five to seven millimetres and mould it while the dough is still comfortably warm.